The Update Manager is the plugin that connects your 99Plugs purchases to WordPress. Install it once per site. After that your premium updates arrive in your WordPress dashboard the same way free plugin updates do.
This article covers getting it installed. Entering your keys comes next, in How to enable auto updates.
Download it
- Log in to your account dashboard on 99plugs.com.
- Go to My Downloads.
- Find 99Plugs Update Manager and click the
99plugs-update-manager.ziplink on the right.
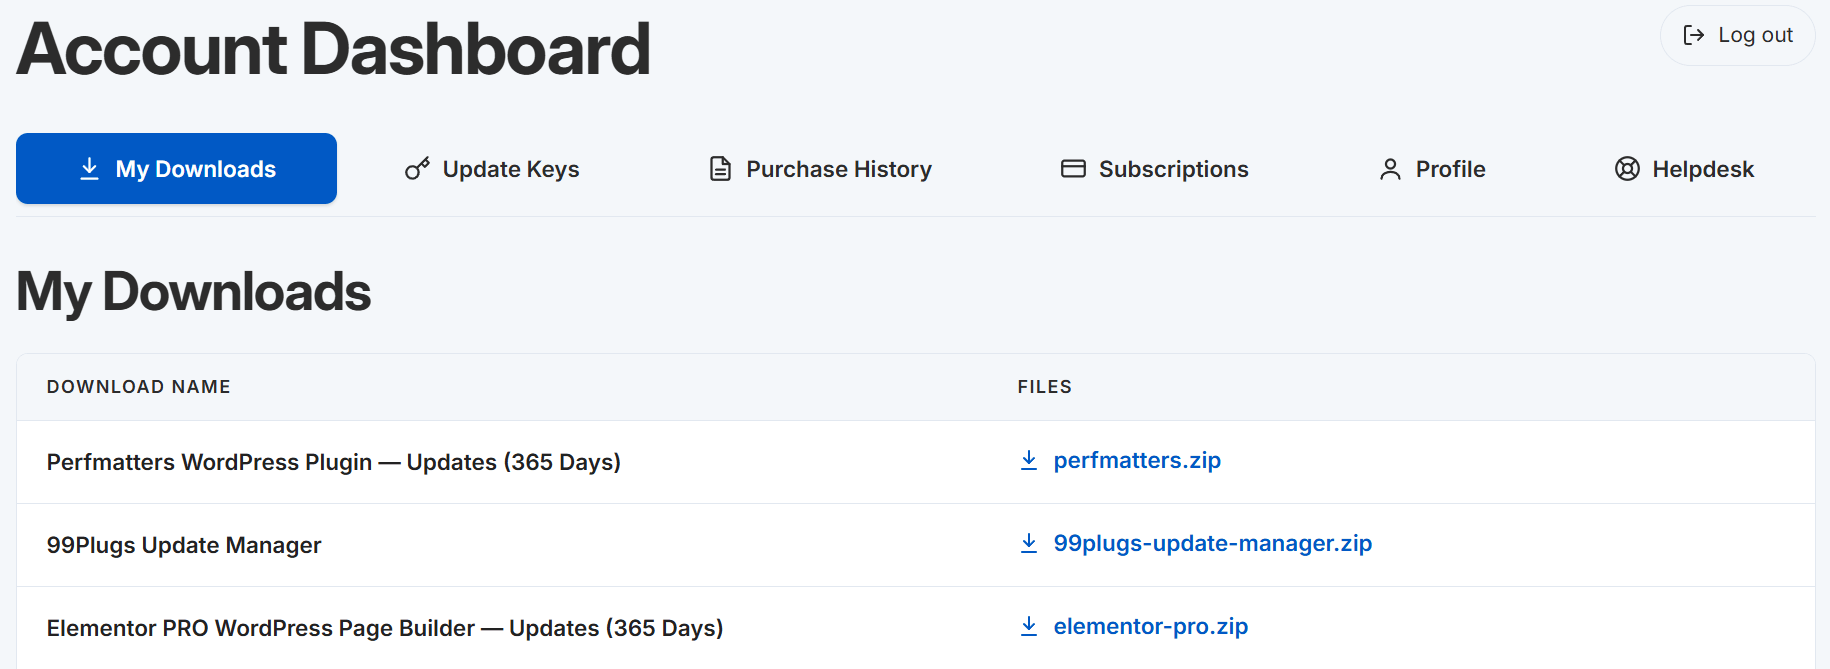
It is included with every purchase, the free trial included. If you cannot find it in My Downloads, open a ticket and we will sort it out.
Install it on your site
- In WordPress, go to Plugins → Add New Plugin.
- Click Upload Plugin at the top of the screen.
- Click Choose File, pick the zip you just downloaded, then click Install Now.
- Click Activate Plugin.
That is the install. The Update Manager is a small plugin and it adds nothing to the front end of your site.
Where it lives afterwards
Look for Tools → 99Plugs in your WordPress admin menu. That is the Update Manager, and it is where your update keys go.
Once per site
Every WordPress site running plugins from us needs its own copy. There is no site limit and nothing to register. Install it, enter your key, move on.
Next: How to enable auto updates.