This article explains how to activate WordPress debug mode and generate the debug.log file. You likely found this article because you are experiencing a fatal error or a blank white page on your WordPress site.
You can enable the WordPress “debug mode” by editing a few lines in the wp-config.php file of your WordPress installation.
To enable debugging mode in WordPress, follow the steps:
- Login to cPanel or log in to your site via FTP
- Use the cPanel File Manager or your FTP client and edit the file wp-config.php
- Copy the lines below to the file wp-config.php or if they already exist, change their values:
define( 'WP_DEBUG', true );
define( 'WP_DEBUG_LOG', true );
define( 'WP_DEBUG_DISPLAY', false );
IMPORTANT: Make sure that you copy the lines exactly as shown, don’t forget any semicolon or other characters!
4. Paste the copied lines directly above the line:
/* That's all, stop editing! Happy publishing. */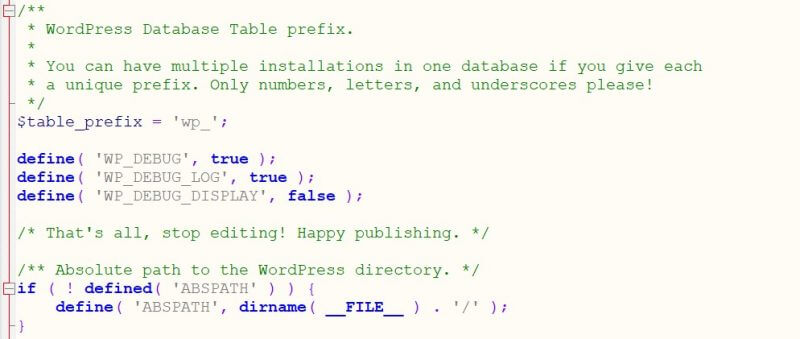
After reloading the site, WordPress writes any PHP errors into the debug.log file.
WordPress saves that file into the folder: wp-content/debug.log
If you want to see the debug log errors directly on the screen instead of needing to look into the debug.log file, change the line
define( 'WP_DEBUG_DISPLAY', false );to
define( 'WP_DEBUG_DISPLAY', true );You can find more detailed instructions about how to enable the WordPress debug mode at https://wordpress.org/support/article/debugging-in-wordpress/.